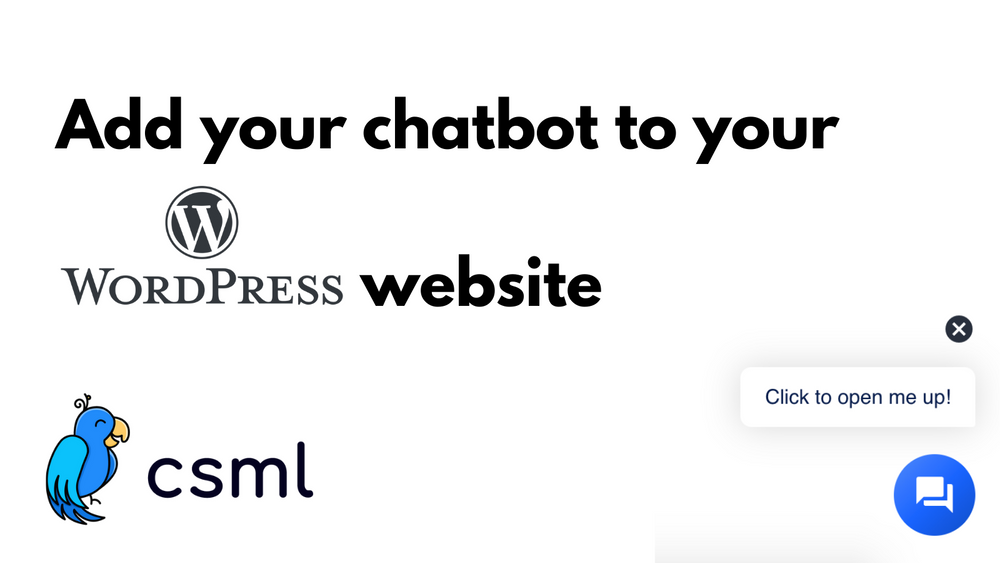
How To Add a Chatbot To Your WordPress Website
We all know WordPress: it is by far the most famous CMS (content management system) out there. It runs over 1/3 of the internet, with 196 languages included out of the box.
One can run pretty much any kind of website with WordPress: a simple blog, a product landing page, a physical store website, or even an e-commerce business.
In this article, we're going to go through how to set up a CSML chatbot on any WordPress website.
The Chatbot
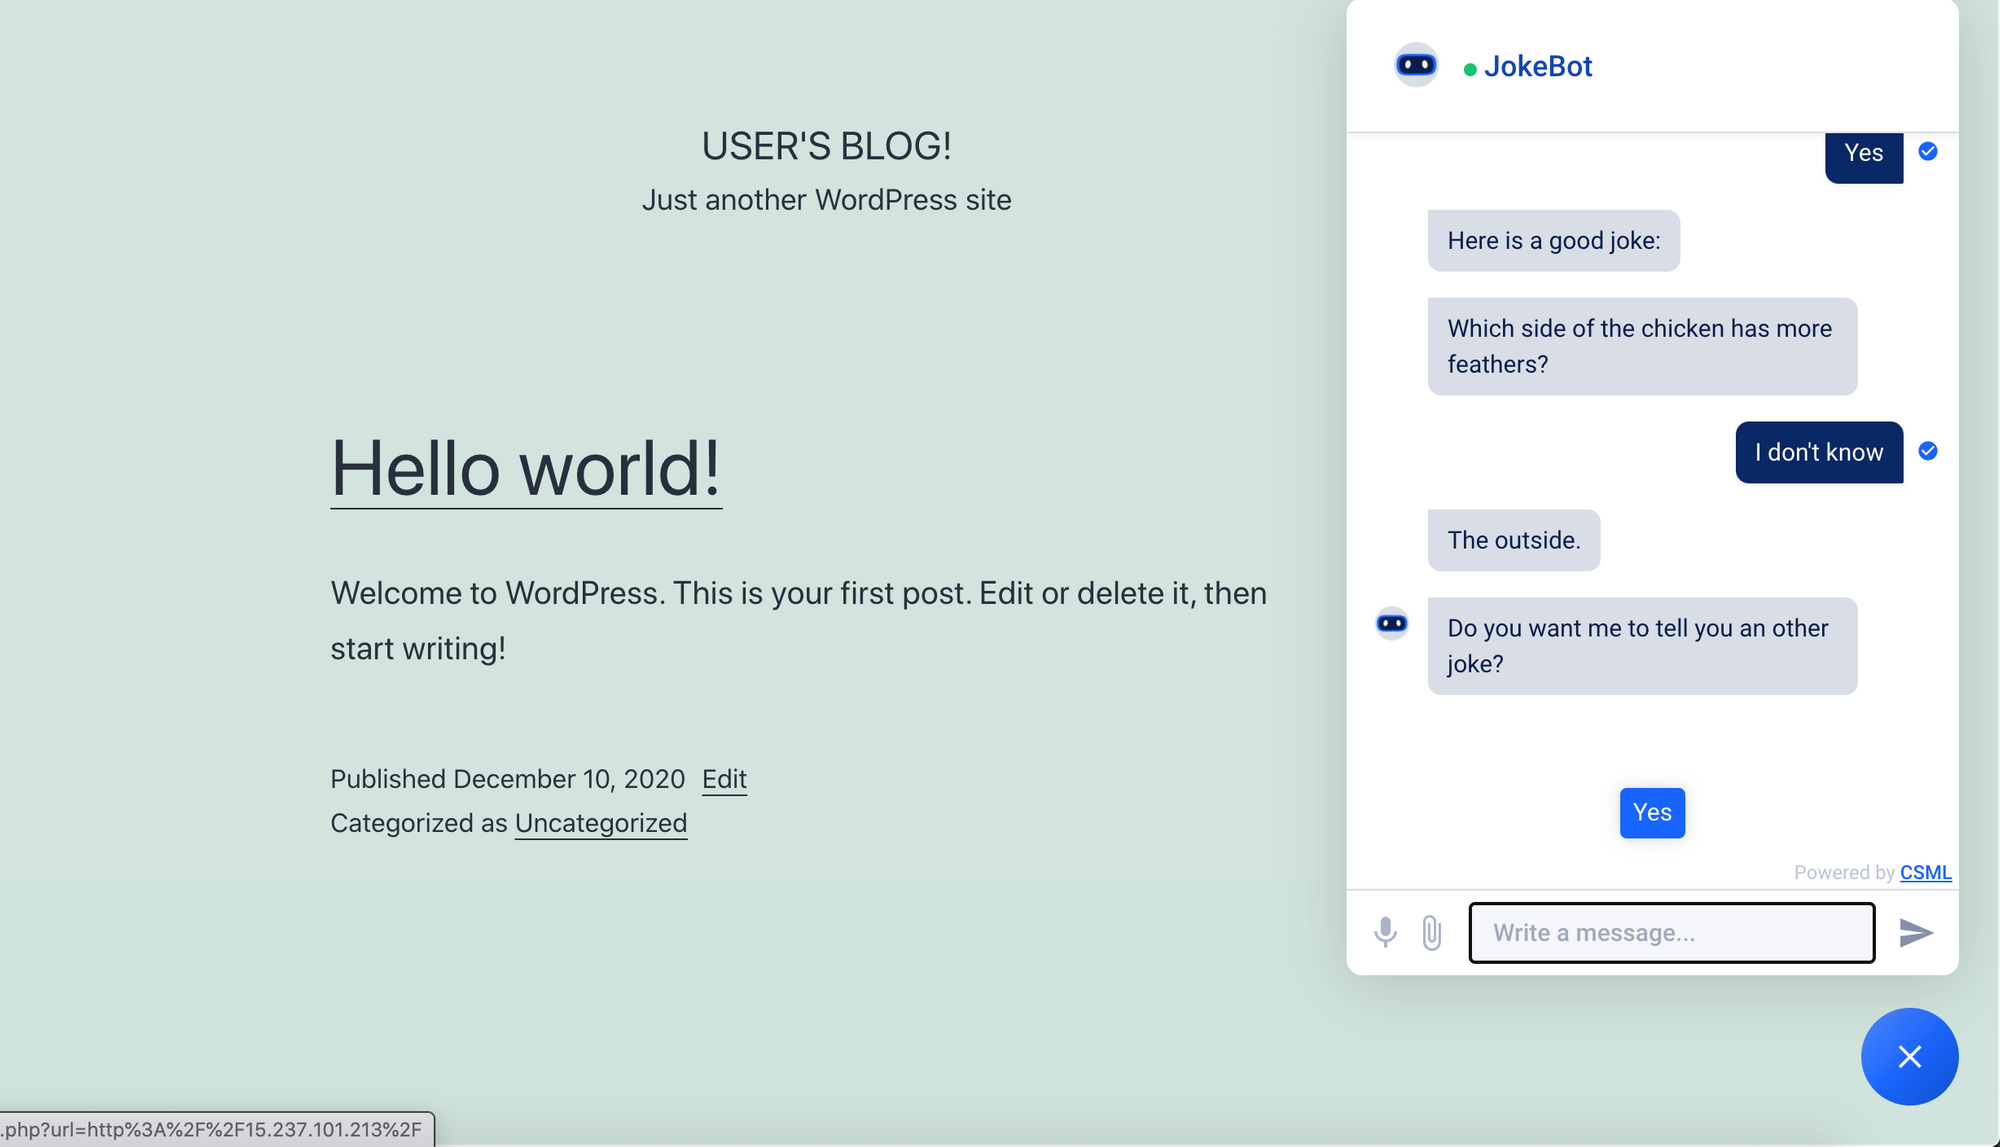
For the sake of demonstration, we'll create a very small chatbot that tells jokes.
start:
  say "Here is a good joke:"
  do joke = HTTP("https://official-joke-api.appspot.com/random_joke").get().send()
  say joke.setup
  hold
  say joke.punchline
  say QuickReply("Do you want me to tell you an other joke?",
  buttons=["Yes"])
  hold
  if (event == "Yes") goto start
  say "Ok 👋 "
  goto end
We're going to create this chatbot in CSML Studio, which allows you to run and deploy CSML chatbots for free on a bunch of channels such as Messenger or even a webapp for your WordPress website 😉
Chatbox
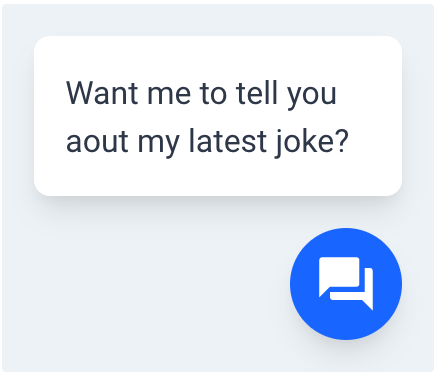
As mentioned above, we're going to use CSML Studio's Webapp channel integration to create a chatbox that can be opened and closed with a little bubble in the bottom right and corner of the window as shown in the image below.
Let's head over to the Channel menu, then click on Webapp. After writing down a name for your chatbot, click on save.
That's it! You've created a responsive Webapp that can be adapted as a chatbox on your website.
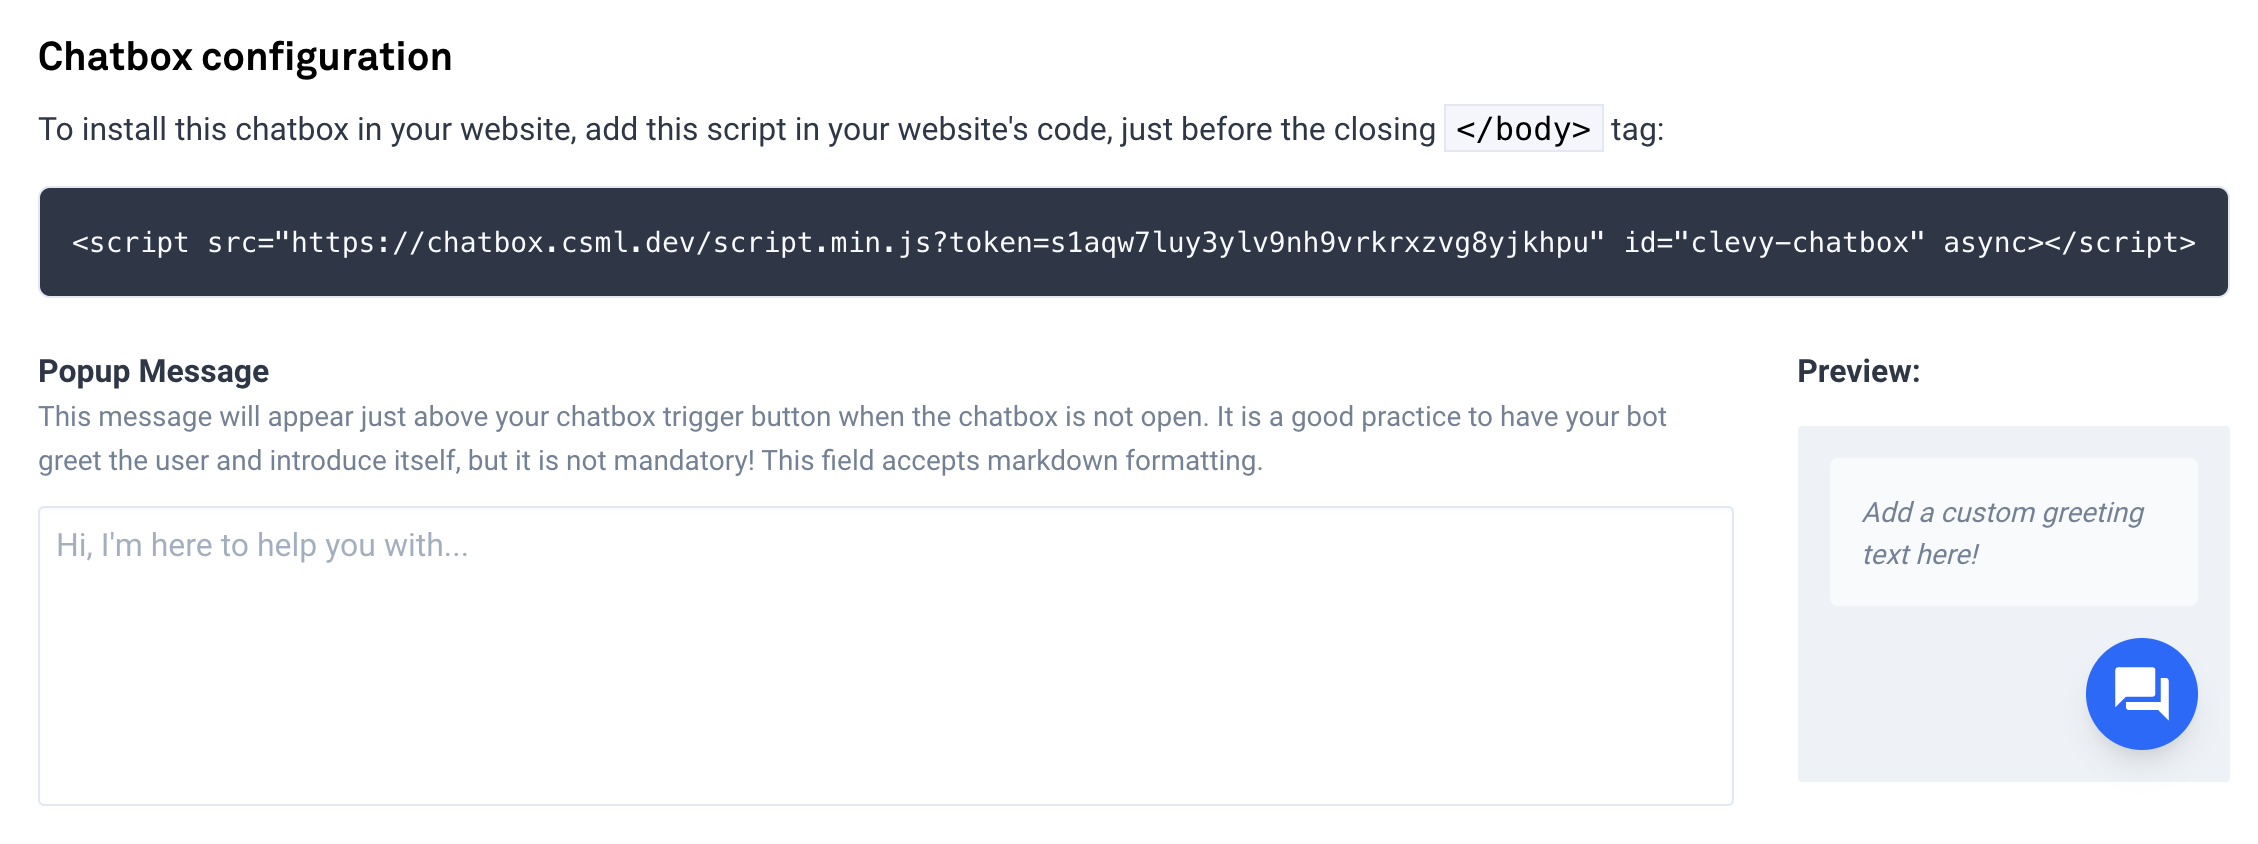
One more thing: you need to get the script to add to your WordPress website. Scroll down the page, and you'll see that you can add a message as shown above, and you can also see the script that you'll need. Copy the script.
Adding the Chatbox To WordPress
To add the chatbox, you'll need to add a script to your WordPress website.
There are two ways to go about this:
- You add the script to your child's theme (requires development skills)
- Add the script using a plugin
We're going to implement the chatbox using the second way.
In your WordPress Administration panel, head over to Plugin > Add new.
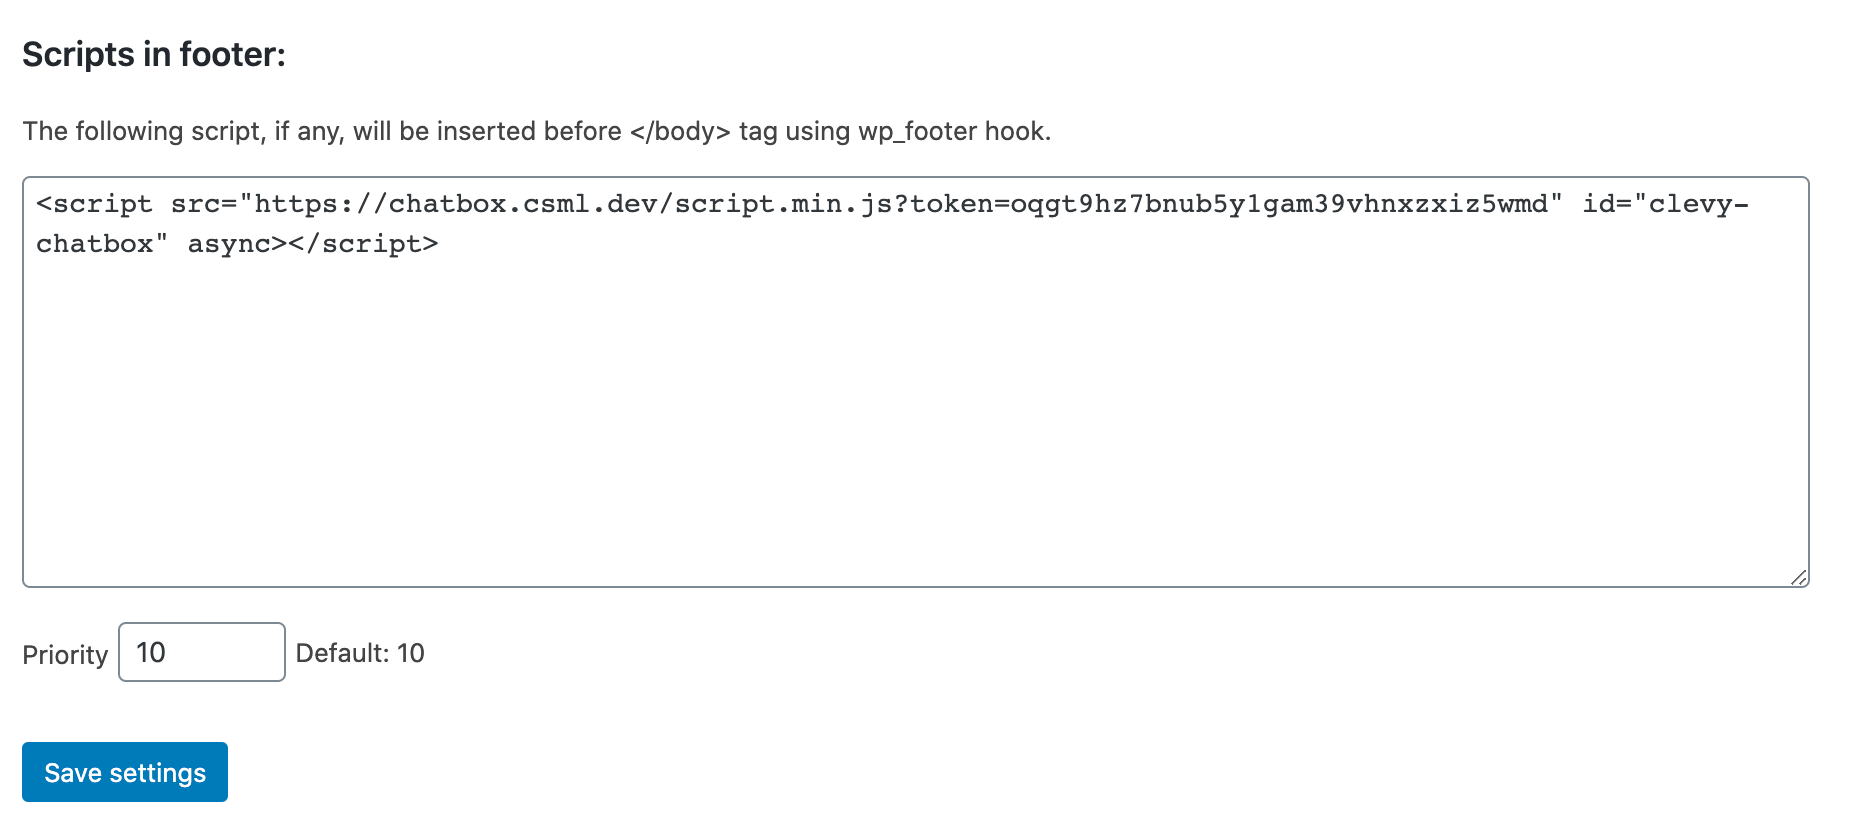
Search for Header and Footer Scripts plugin and install it.

Then go to Settings > Header and Footer Scripts , and paste the script in the Footer section, then click on Save.
This is it! Your chatbot is now on your website! 🤖
Related video 👉 https://youtu.be/WRV4fwsNFJk