
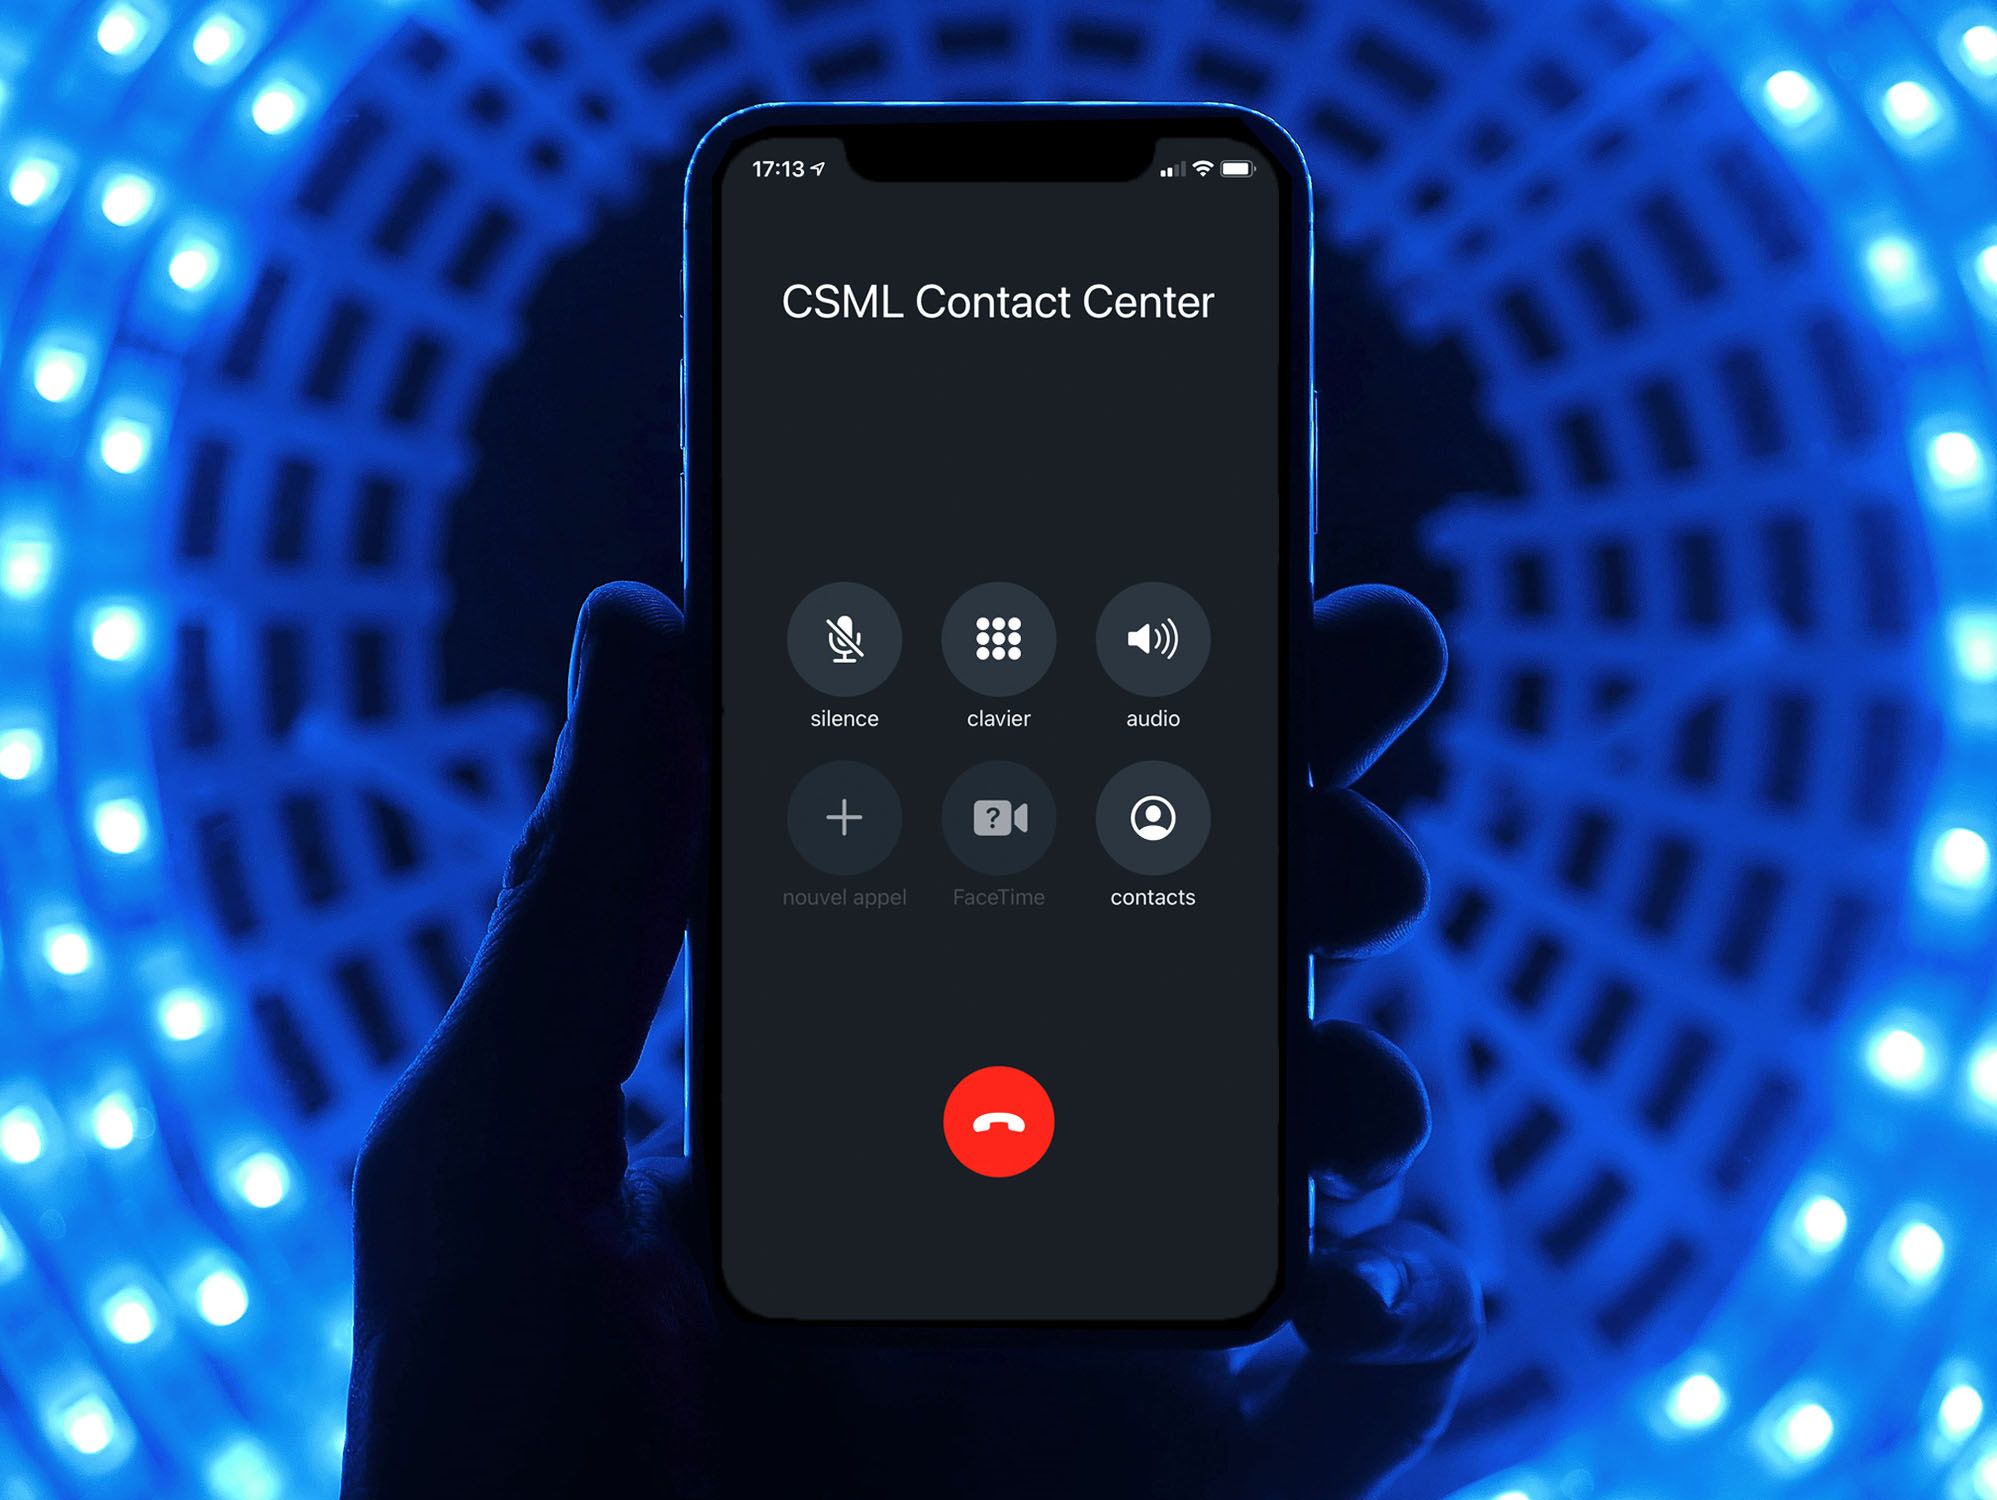
Create an Open-Source, Automated Call Center with CSML and Twilio in 5 minutes
Call centers are notoriously so expensive and hard to setup that they seem inaccessible to smaller businesses, and sometimes also for larger firms. In this article, I'm going to show you how to create a call center from scratch in a few minutes, using just a phone number from Twilio and open-source technologies!
Prerequisites
We will use the open-source CSML programming language to develop the business logic of the chatbot. In this blog post we will use CSML Studio, CSML's online development environment, but you could also deploy it yourself on your own servers!
We will also assume that you have already purchased a phone number on Twilio. The process to connect it to CSML Studio is quite simple and is detailed in this documentation. (note: for testing purposes, you can even skip step 1 of the Twilio setup part, and only use the TwiML simulator).
Call Center Automation
In this example, we are going to create a simple callbot for an imaginary insurance company. The goal is to help users:
- report an incident and open a case
- get information about an existing case
- speak to an agent to subscribe to a new insurance policy
These are simple use cases that can be applied to other types of businesses. At the end of the blog post, I will share the full code for this chatbot so that you can modify it for your own use case!
Triage
The first thing to do is help triage the various types of requests. In ou flow, we will create a first step to do just that:
start:
  say "Welcome to CSML Insurances!"
  goto triage

triage:
  // Propose a few options for the user
  say "To open a case, please press 1."
  say "To get information about an existing case, press 2."
  say "To subscribe to a new policy, press 3."

  // Wait for user input
  hold

  // Triage action depending on user input
  if (event == 1) goto flow CreateCase
  if (event == 2) goto flow GetCase
  if (event == 3) goto flow SubscribePolicy

  // User typed or said something else, let's ask again
  say "I'm sorry, I did not understand your input!"
  goto triage
Depending on what the user typed, this will redirect them to any of the available flows, or ask the same thing again until the user chooses a valid action.
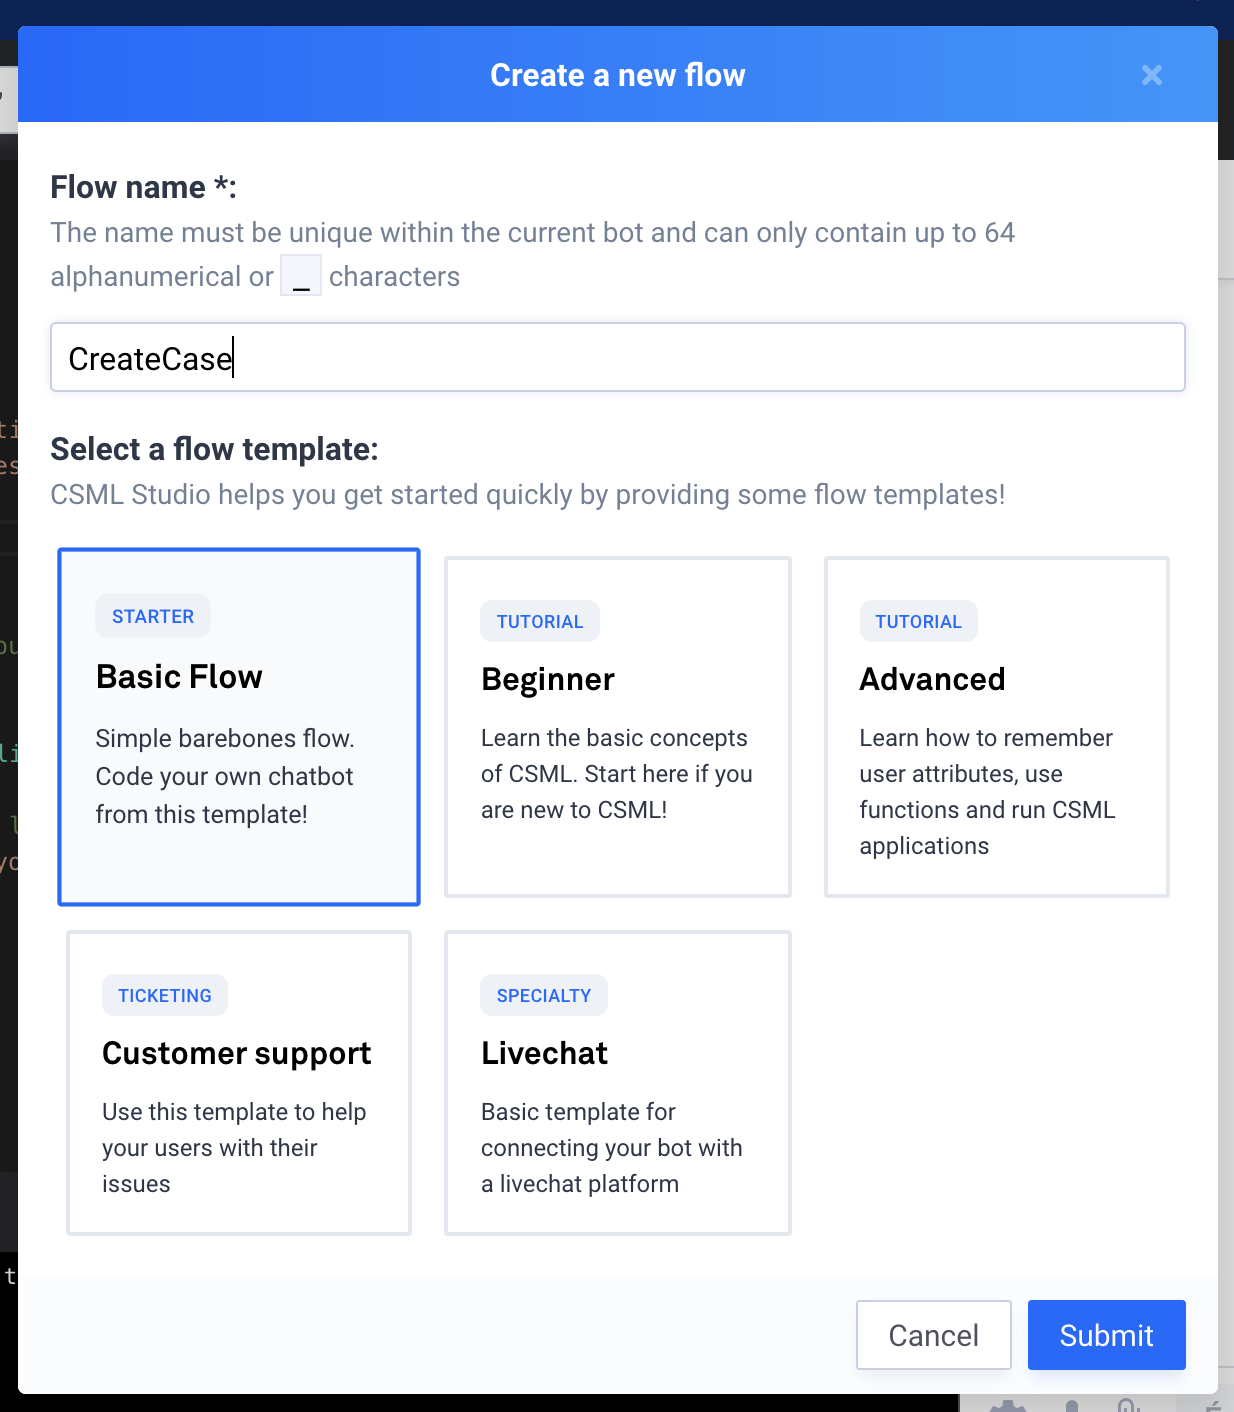
Creating a New Case
The first option is to create a new case. To make things easier to read, we are going to create a new, dedicated flow, called CreateCase.
In this flow, we first need to make sure that we have the customer on record by asking them to input their customer_id on the keyboard. In a real-life use case, we would probably ask them to provide a passcode for security, but this should be fine for demonstration purposes.
start:
  // Make sure that we have the right customer
  say "To authenticate your call, please enter your customer number."
  hold

  // Run a query to retrieve the customer information from your CRM.
  // This needs to be adapted to your actual use case!
  remember customer = Fn("my_custom_CRM", action="get_customer", customer_id=event)

  // If the customer does not exist or the phone number doesn't match,
  // you can for example reject the call here.
  // For this example, let's just imagine that everything is fine!
  if (!customer) {
    say "I'm sorry, it seems that you are not registered in our systems. Goodbye!"
    goto end
  }

  goto select_policy
We can then retrieve their customer information with a custom connector to our CRM software, that we created in advance as a simple node.js function called "my_custom_CRM".
Then, we can let them select the policy they want to create the case in. For example, if the same customer has both a home insurance policy and a car insurance policy, this is where we would ask them to select the policy:
select_policy:
  // Let the user know what type of policy they want to open a case with
  do policies = customer.policies
  foreach (policy, index) in policies {
    say "To declare an issue with your {{policy.type}} policy, type {{index}}."
  }
  hold

  // Make sure they did select a valid policy
  if (event >= policies.length() || !event.is_number()) {
    say "I'm sorry, I didn't understand your input."
    goto select_policy
  }

  remember selected_policy = policies[event.to_int()]

  say "Thank you!"
  goto describe_case
Finally, we can use Twilio's integrated Automated Speech Recognition (ASR) feature to take the user's case description and save it in the actual case:
describe_case:
  // We can use Automatic Speech Recognition to let the user describe their problem
  say "Please describe your case in a few words."
  hold

  // The user's input will be returned as text and can be used immediately
  // in the case creation
  do Fn(
    "my_custom_CRM",
    action="create_case",
    customer_id=customer.id,
    policy_id=selected_policy.id,
    case_data=event
  )

  say "Thank you for reporting your issue! We will be in touch with you."
  say "Goodbye!"
  goto end
Finding the Status of an Existing Case
For the second option, we will let the user enter the ID of an existing case and let them know what the status is.
In another new flow, after letting them authentify the same way as in the previous case, we can ask the customer to type the case ID they want to know the status of:
start:
  // ...
  // Same code as in the CreateCase flow to identify the user.
  // It could be refactored in a common function!
  // ...
  goto get_case_status

get_case_status:
  say "Please enter your Case ID."
  hold

  // Call our custom CRM to find more information about the given case
  do customer_case = Fn(
    "my_custom_CRM",
    action="get_case",
    customer_id=customer.id,
    case_id=event
  )

  // Error handling: the user might have given a wrong case ID!
  if (!customer_case) {
    say "I'm sorry, I can't find a case with ID {{event}}."
    goto get_case
  }

  // The case contains some information. For demo, let's just tell
  // the user what the status is, but obviously we could easily
  // continue the conversation from there!
  say "The status of your case is: {{customer_case.status}}. Please check in later for updates!"
  say "Goodbye!"
  goto end
Redirecting the User to a Live Agent
In callbots, there is often a need to redirect a user to a human agent if they reach a certain high-value or sensitive point in the conversation: for example an opportunity to sell a new insurance policy.
Let's do exactly this in this final flow, called SubscribePolicy. This time we don't need to authentify the user, but we do need to qualify the type of policy they are interested in, to redirect them to a different agent depending on whether they need to insure their car or their home, for example.
start:
  say "What would you like to get insured?"
  say "If you would like to insure your appartment, house or farm, say \"home\"."
  say "If you would like to insure your car or motorcycle, say \"car\"."
  hold

  // Let's use ASR for this request. We could also have used keypad inputs!
  if (event == "car") goto insure_car
  if (event == "home") goto insure_home

  say "I'm sorry, I didn't understand your input."
  goto start
In this part of the code, we chose to not use the DTMF input (the numerical keypad of the phone), but let the user simply say what they want to access. We could also let the user say "I want to buy an insurance for my bike" and let a NLP handle this scenario: the point is, there are multiple ways to interact with a Callbot and you should choose the one that fits your use case best!
For more information about using NLP in a chatbot, you can read for example this article about integrating with Dialogflow or this one about using Amazon Lex.
If one of the valid keywords is found, we should get the user redirected to a live agent. This is usually done by forwarding the call to a different phone number: call centers often have a lot of different numbers and forward your call between services, making it easier to manage the various scenarios a user can call a customer service for.
In CSML, there is a custom component that does just that: CallForwarding().
insure_car:
  // The CallForwarding action lets your forward the call to a different number
  // This number may be a callbot as well, or a live agent.
  say "Let me redirect you to an agent in charge of Car insurances."
  say CallForwarding("+123456789")
  goto end

insure_home:
  // Same thing, but with a different number to reach a different service!
  say "An agent specialized in home insurances will help you with your request."
  say CallForwarding("+987654321")
  goto end
Going further
One improvement on that flow could be to check the time of the call and only redirect if the service is currently open. For example, if it is past 7PM or the week-end, you could easily say that the service is only open between 9AM-7PM on weekdays and let the user know that an agent will call them first thing in the morning on the next day!
Conclusion
As you can see, creating your custom automated call center is very simple with open-source technologies such as CSML. It does not require an immense upfront investment: you can get started quite quickly with a simple use case, and remain in control of every line of code and customer data.
 CSML-by-Clevy
You can get the full source code for this insurance chatbot here on Github. It is a good starting point for any Customer Support type of chatbot, even for other chat interfaces such as Facebook Messenger or a website chat plugin!